|
Redid an effect from VFX Learning with my new computer, rendered with Mental Ray.
0 Comments
A sun simulation I did in Maya... I don't actually remember doing it but I have a folder with a scene and a render.
To set up this scene I got a 3D skull model from TurboSquid and used that as my mesh. I created a particle with the settings I liked, then a 3D container and had my fluids emit from that. Then I took the particle and keyframed its movement around the skull. I adjusted the fluids shape and emitter, by changing its density, buoyancy, and dissipation. I used the self shadow, and changed the colour shading to a dark on the left hand side and an evil green on the right hand side, and then changed the colour input to density. I made some slight alterations in the turbulence and velocity. I lowered the transparency of the mesh to make it invisible. Before finishing up I made the fluid collide with the head so it would reveal the mesh through smoke Finally, I made some tweaks to the fluid shape again, set the fuel and temperature to dynamic grid, and adjusted the incandescence. Render playblast
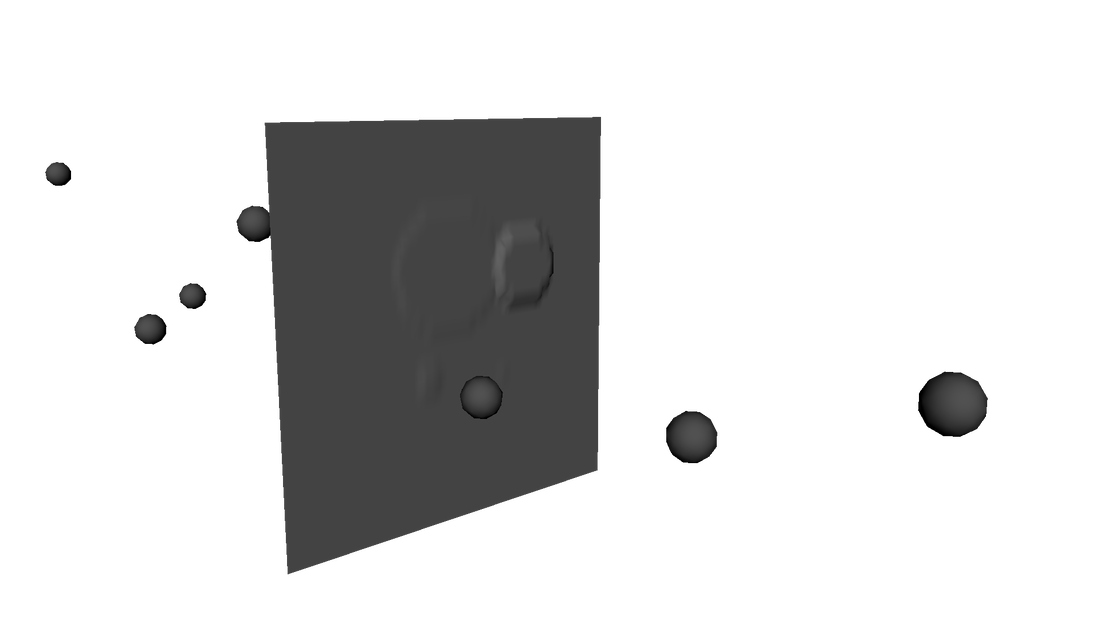
To create the tornado, I used the curve tool to make the funnel by creating a curved line, then revolved it in the surfaces menu. In the NURBS menu I selected the rebuild surface option. The wind was two nParticle emitters, one at either end. Turned off collide and self collide, and adjusted a few other settings. Then I created a 3D container with no emitter, and then added particle 1, 2, and fluid 1. I also made a curve through the funnel to create the swirling motion. I made some edits to the dynamic simulation and some other minor adjustments to the colour and flow. Interesting thing happened when testing this out at home and in college, when I tried saving the file in college it wouldn't save as .ma and would only save as .mb. Turns out, after much searching, there were multiple hidden nodes created by the college computer that I eventually found a script to delete hidden/unknown nodes (which has been added into the 2018 version). These nodes were lighting materials from VRay that conflicted with my own mental ray and lambert ones. Week 11 of the Maya Dynamics lessons, creating bullets passing through a passive object. Maya particles with an emitter, similar to particle goals, following single particles with a turbulence and newton gravitational field. Below you can see the various styles I tried while making this. Rain effect made in Maya Dynamics. The colour was added in AE using a curves adjustment. Pardon the quality of the images, I have no idea why they turned out like that as I save every image as 1920 x 1080. I fixed most of the bluriness by adding a glow, curves, and a (somewhat ironically) blur effect in AE. I believe I tweaked a setting in the simulation that resulted in the low quality. I had done this as green in honour of Disney villains and then I seen a picture and I remembered how fire changes colour depending on the chemical it is is exposed to, hopefully I can fix the quality issue when I get around to making them. Another tutorial from VFX Learning about using a particle goals effect to make the emitter particles stick to the sphere. Underwater bubbles effect made in Maya 2015, I removed the shader in the final version* as it was taking too long to render out. I also hadn't used Maya to make a video before so it took some time to get a proper working file. It's probably the only advantage 3DS Max has on Maya. The final version is a TIF sequence I exported and then brought into Premiere. *The shader was increasing the render time and as I only have a computer with 6GB of RAM, I didn't have the time or patience to make it look as good. |
ContentsEffects created in Maya. Archives
September 2019
Categories |


 RSS Feed
