|
This assignment required the use of the modelling tools to create the snow mesh and plane. To start I created a cube and squashed it down, I then used the foamy tool from the sculpting tool kit to alter the topology. I stayed in the smooth view for this, and use d the the smooth tool to reduce and sharp verts. For the snowman I created a sphere and used the foamy tool again. I followed my reference image of a snowman I had created, which was a great help in making the snowman look more authentic. The hat is an elongated cylinder with an extruded base. I did this as I wanted to make it look like an Aardman armature. References
0 Comments
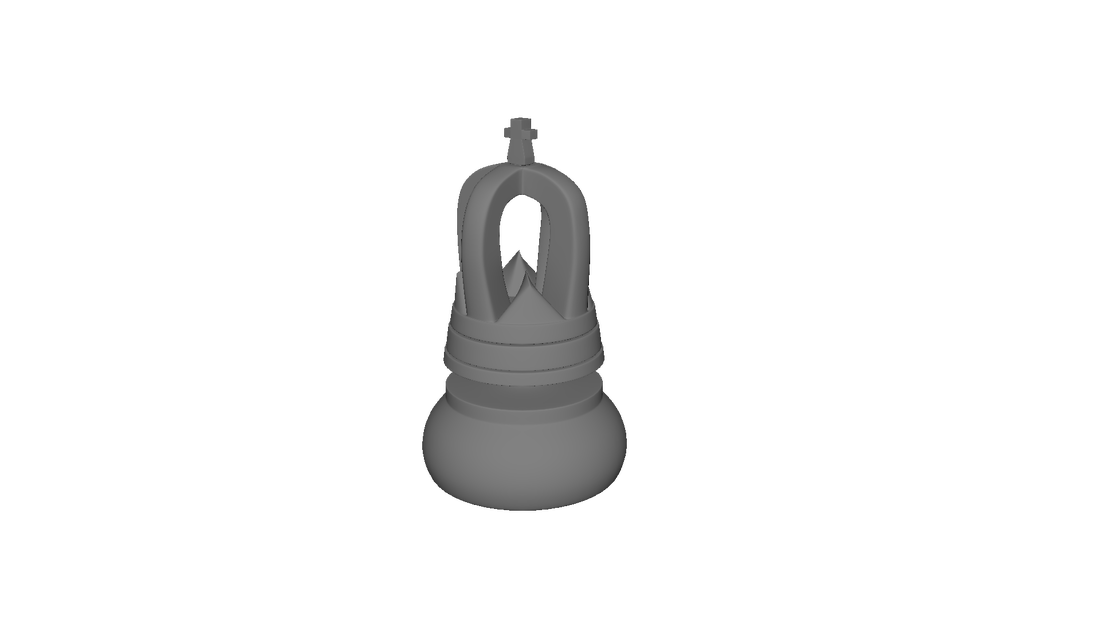
The final render with full chessboard, and from different angles. I created an eight by eight poly plane, and applied the checker pattern. For the black and white colours I applied a Phong E material, then moved the diffuse, and colour sliders to different ends. In the specular shading menu, I adjusted the roughness, highlight size, and the specular colour. Modelling ProcessBishopContinued on from base, extruded up to create body. I set the edge loop tool menu to set it to multiples and for three to be added, and added another edge loop to the top and bottom. I repeated the same process as the pawn to create the top sphere, but pulling the verts out more and not having them as far up so as to create the squash. KingSimilar to queen process but with twelve subdivisions. To make the arch I created a simple cube, increased its scale, added some edge loops, and then added a non-linear bend deformer. I adjusted the curvature, low bound, and high bound to keep the bottom straight so that only the top part bended inwards. I duplicated this three times and merged them to a central cube. I then combined and merged these to the main mesh. - Cross; The cross is a cube with edge loops and extruded faces, then merged to the centre cube. - Spikes; I deleted the remaining eight faces on the body. I then created a prism, added extra edge loops, and used the multi-cut tool to combine them. Finally I selected the top verts and dropped them down to give a slope. KnightCreated a cube and changed subdivisions. I then extruded the faces up and out to create the horse head, and added edge loops for reinforcement to areas that needed to be more square. To create the ears I pushed the centre verts down, and scaled the rectangular shapes verts together. To combine the two meshes I went to mesh - combine, after snapping the verts together I merged the verts together. PawnI continued on from the base, which was different in scale, extruded upwards and scaled the mesh out to create the bulbous shape. Repeated the same process for the base and neck, and extruded/scaled up and out to create the spherical top. Deleted the triangles and used the multi-cut tool to bridge the verts together to keep everything as quads. QueenAdded two extra subdivisions to the cylinder for a total of ten. After creating the body, using the same process as the indents for the rook, I selected five faces and extruded them up, I added edge loops to keep the spikes rough. I created a sphere with eight subdivisions, which I combined to the main mesh after duplicating them. After snapping and merging the sphere verts to the sphere ones I adjusted the scale and height of them. RookSame process as bishop, added more edge loops to create indents. |
Synopsis3D work done in Maya. Archives
August 2019
Categories |


 RSS Feed
